
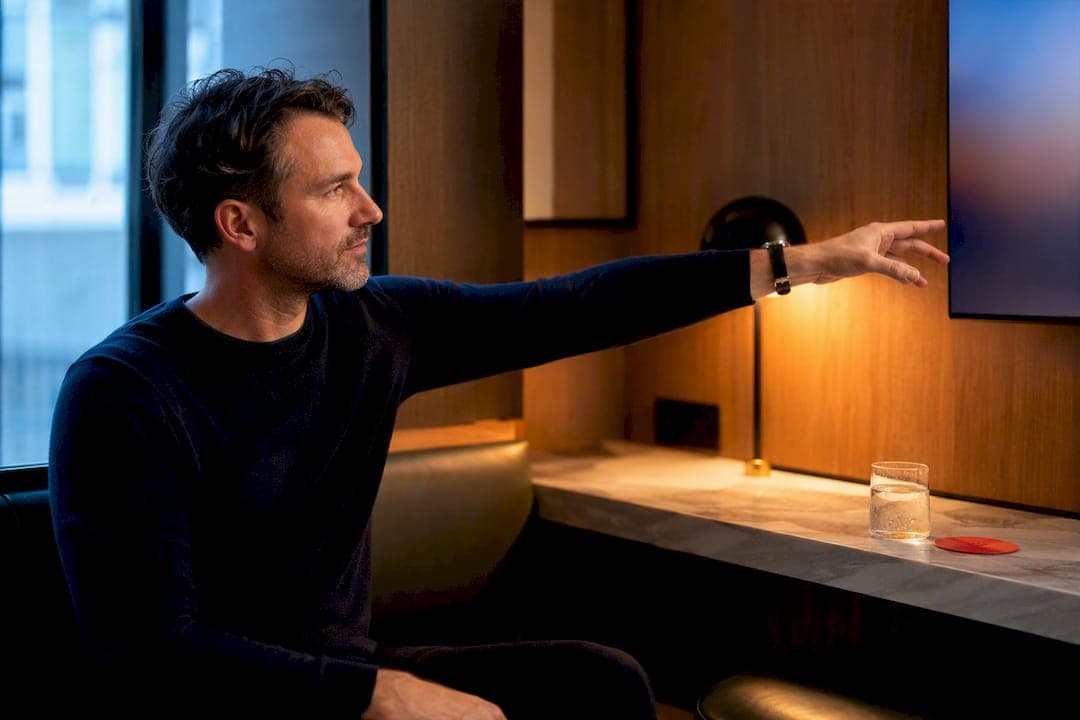
For the most comfortable viewing, sit centered about an arm's length away with the top of your screen at or slightly below eye level, letting your gaze fall 10 to 20 degrees downward. For a presentation screen, the seats that matter most are the ones where the display's bottom edge and center line up with the audience's seated eye height, usually a bottom edge around 120 to 130 cm off the floor. No position stays perfect for long. Shift posture or stand up regularly, roughly every half-hour, to reduce fatigue.
TL;DR:
- Ensure your screen is roughly an arm's length away, with size adjustments made for larger or higher-resolution displays to maintain clarity.
- Position the top of the screen at or just below eye level, with a slight tilt of 10 to 20 degrees, and confirm the eye's downward gaze falls within that range.
- Use the center-seam-to-nose alignment and the sticky note test to verify correct height and positioning, adjusting for bifocals or prescription lenses as needed.
- Recognize that IPS and OLED panels have wide viewing angles suitable for shared spaces, while TN and VA panels require direct front-facing seating to prevent color and contrast washout.
- Incorporate regular movement, posture shifts every 30 minutes, and proper seat adjustment to avoid muscle fatigue and maintain ergonomic comfort all day.
Table of Contents
- Finding the Best Zitplaats Scherm Distance and Height
- How Your Screen's Panel Type Changes Where You Can Sit
- Setting Up the Best Seat for a Presentation or Meeting-Room Screen
- Setting Up Two or More Monitors Without Twisting Your Neck
- The Posture and Movement Habits That Make Any Setup Actually Work
- A 6-Step Checklist to Fix Your Setup Right Now
- Adjusting Your Seat for Eye Dominance
- Publisher Perspective: How Big Shots Amsterdam Approaches Screen Placement for Groups
- Come See These Rules in Action
- Sources
Finding the Best Zitplaats Scherm Distance and Height
Getting the distance right starts with your own arm. Stretch it out toward the screen. Your fingertips should just about brush the display. That's your baseline of roughly an arm's length range of distance, and it's the same range Ergotron's ergonomics guidance recommends for screen distance and tilt. Bigger monitors or higher resolutions push that number toward the far end of the range, since more pixels packed into a wider panel need extra room before text turns legible instead of blurry.
Height matters just as much as distance. The top of the screen should sit at or slightly below eye level, and your eyes should land near the top third of what's actually on screen. Peer-reviewed viewing angle research backs a specific window here: keep the top edge just slightly below horizontal and the center within a moderate downward angle to balance eye and neck comfort.
Three quick checks confirm you've nailed it:
- Sticky note test. Stick a note on the top third of the screen. If your eyes rest there naturally without tilting your chin down, height is close to correct.
- Tilt test. Tilt the monitor back at a slight angle, generally between 10 and 20 degrees. This is the same tilt range CCOHS's monitor positioning guidance uses when describing viewing-angle zones.
- Angle check. Use a protractor or a smartphone level app to confirm your sightline falls somewhere between 10 and 20 degrees downward.
Laptop users need an external keyboard and a riser or stand, since the built-in screen sits too low the moment the keyboard is at proper elbow height. Bifocal and progressive lens wearers usually do better lowering the monitor slightly and tilting it back a bit further, so the lens's reading zone lines up with the text instead of the distance zone.
How Your Screen's Panel Type Changes Where You Can Sit
Not every monitor lets you sit off to the side without the picture falling apart. Lenovo's explanation of viewing angles breaks panels into two rough camps: IPS and OLED displays generally maintain color and contrast over wide viewing angles, while TN and many VA panels start washing out well before that.
Signs your screen has a narrow viewing cone:
- Colors shift or look washed out the moment you lean to one side.
- Contrast drops sharply, and dark scenes turn gray or murky off-center.
- Text near the edges looks dimmer than text dead-center, even under identical lighting.
This matters most in shared spaces. A narrow-angle TN panel forces everyone into a tight seating cone directly in front of it, which is a real problem for a sports bar, a living room with a couch wider than the screen, or a conference table seating six people. A wide-angle IPS or OLED panel turns that same room into usable seating on both sides.
Pro Tip: Stand at your screen's dead center, then walk sideways in slow steps while watching one bright and one dark area. The moment either shifts noticeably, you've found the edge of your usable viewing cone.
Setting Up the Best Seat for a Presentation or Meeting-Room Screen
Presentation screens follow their own math, since you're solving for a room full of people instead of one desk. Installer guidance commonly places the bottom edge of the screen around 120 to 130 cm off the floor, matched to the average seated eye height of the audience. Stadium seating, raised stages, or unusually large screens call for adjusting that number up or down.
Distance follows a simple rule of thumb: multiply the screen's diagonal size by a small range to find comfortable minimum and maximum viewing distances, then treat everything in between as your sweet spot.
- Front rows too close: text becomes hard to track as a whole, even if it's technically legible.
- Back rows too far: fine details and small fonts disappear first.
- Off to the side: legibility depends heavily on the panel type discussed above.
Glare deserves its own pass before anyone sits down. Position the screen perpendicular to windows rather than facing or backing onto them, and tilt it slightly to redirect overhead light away from the audience's eyes. Staggered or tiered seating, plus a small riser for the back rows, keeps sightlines clear when heads start blocking the view.
Setting Up Two or More Monitors Without Twisting Your Neck
Multi-monitor setups go wrong in one predictable way: someone centers the wrong thing, and their neck pays for it every single day.
- Equal use: if you split your attention evenly between two or three monitors, align their top edges and curve them slightly inward so the seam between the center two lines up with your nose. OSHA's workstation guidance points to this exact seam-centering approach to prevent chronic neck rotation.
- One primary monitor: if one screen does most of the work, center that one directly in front of you and angle the secondary displays inward toward your dominant eye instead.
- Match height, distance, and tilt across every screen in the setup, so your head doesn't dip or turn to compensate for one monitor sitting lower or farther away than the rest.
Ultrawide monitors sidestep the seam problem entirely, trading it for a single continuous curve, which is worth considering if neck rotation is your main complaint.
The Posture and Movement Habits That Make Any Setup Actually Work
A perfectly measured screen still fails you if your body locks into one position for hours. HSE's posture checklist for display screen equipment lays out the basics employers are expected to support: screen top at or slightly below eye level, shoulders relaxed rather than hunched toward the keyboard, keyboard positioned at elbow height, and a chair back that actually supports your lower spine.
- Shift your posture at least every 30 minutes, since even a correct position causes muscle fatigue when held too long.
- Follow the eye-rest rule: every 20 minutes or so, look at something at least 20 feet (6 meters) away for 20 seconds.
- Build in short stretches for your neck, shoulders, and wrists during natural pauses.
- If you use a sit-stand desk, alternate slowly rather than jumping between extremes, and add an anti-fatigue mat for standing stretches.
- Ask your employer for a formal DSE assessment if discomfort persists past a couple of weeks of adjustments.
Steelcase's research on workplace movement is blunt about this: no static position, however well measured, holds up for an entire workday.
Pro Tip: Set a recurring 30 minute timer labeled "shift" instead of "break." You're not stopping work, just changing how your body is arranged while you do it.
A 6-Step Checklist to Fix Your Setup Right Now
Run through these steps in order, and you'll catch most of the common mistakes in under five minutes.
- Distance: stretch your arm out. Your screen should sit roughly where your fingertips land.
- Height: top of the screen at or slightly below eye level.
- Center: the screen (or the seam between monitors) lines up with your nose, not your shoulder.
- Tilt: monitor tilted back 10 to 20 degrees.
- Alignment: keyboard at elbow height, chair supporting your lower back.
- Schedule: set a recurring reminder to shift posture every 30 minutes.
Finish with a self-test: sit naturally for a minute, then check for shoulder shrugging, a tilted head, or squinting. Any of those three means one of the six steps above needs another look.
| Check | What "correct" feels like |
|---|---|
| Distance | Fingertips just reach the screen |
| Height | Eyes land near the top third of content |
| Angle | Gaze falls 10 to 20 degrees downward |
| Shoulders | Relaxed, not raised toward ears |
| Neck | No twist or tilt needed to see clearly |
Adjusting Your Seat for Eye Dominance
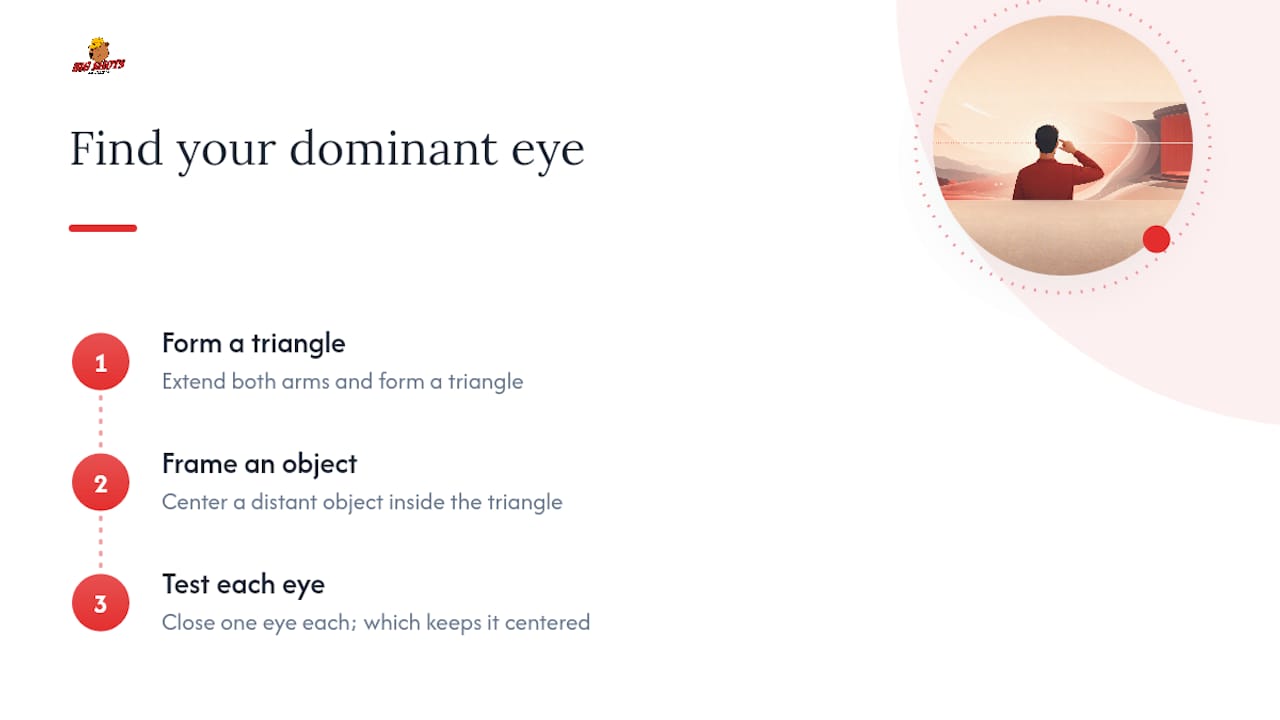
Most people have a dominant eye, and it quietly shapes how they judge distance and alignment on a screen, even when they've never noticed it. A simple way to find yours: extend both arms, form a small triangle with your hands, and center a distant object inside it. Close one eye at a time. The eye that keeps the object centered when the other closes is your dominant one.
For single-monitor setups, this rarely changes much since the screen sits directly in front of you regardless. It matters more in multi-monitor layouts or presentation rooms with sharp side angles. If you're building a secondary-monitor setup and lean heavily on one eye for detail work, angle that secondary screen slightly toward your dominant side rather than splitting the angle evenly between both eyes. In a meeting room, seats slightly favoring your dominant eye's side of the room tend to feel more natural for reading fine text or tracking motion on screen, particularly for anyone doing close design or detail review rather than casual viewing.
This isn't a rule that overrides distance or height. It's a fine-tuning step, useful once the bigger measurements are already locked in.
Publisher Perspective: How Big Shots Amsterdam Approaches Screen Placement for Groups
Every screen height and seating tier at our venue reflects the same math covered here: sightlines first, glare second, comfort measured in minutes, not just inches. Watching a match from a booth versus the bar rail tells you more about seating logic than any diagram. The same rules scale down to a living room or a meeting room without much translation.
— Leo
Come See These Rules in Action
Bigshotsamsterdam built its seating layout around exactly the sightline and screen height rules covered above. Every booth, bar seat, and lounge spot was placed to avoid glare, keep screens legible from an angle, and give groups a spot where nobody's craning their neck for ninety minutes straight.

If you're planning a group viewing night, a private event, or just want to watch a match somewhere the screen placement was actually thought through, visit Bigshotsamsterdam in Amsterdam or book your spot for the next big game. It's one thing to read about the ideal angle. It's another to sit in a seat built around it.
Sources
- Health and Safety Executive — Good posture when using display screen equipment
- Ergotron — Ergonomics made simple
- Lenovo — Viewing angle explained
- CCOHS — Positioning the monitor (office ergonomics)