
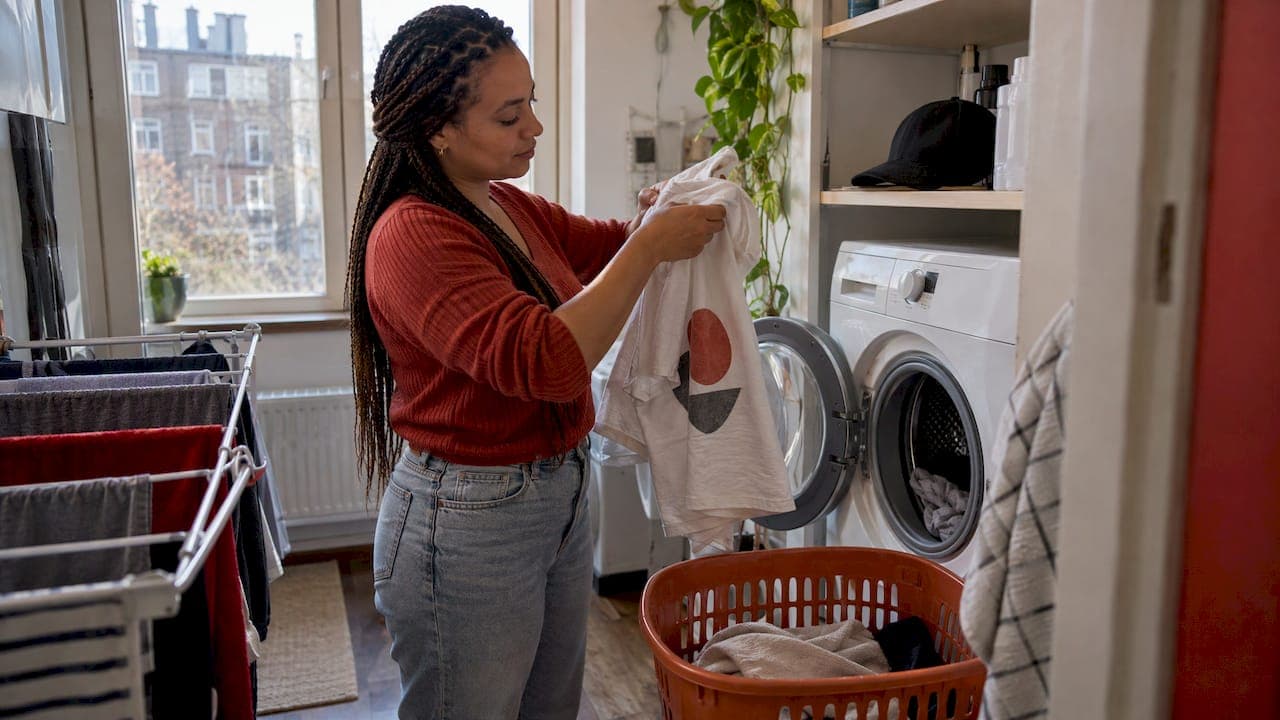
Turn the shirt inside out, wash it at 30°C or lower on a gentle cycle with a mild detergent, skip the fabric softener, and let it air dry. Never iron directly on the print. That routine protects screen prints, DTG prints and heat transfers alike, and it works for a favorite band tee, a staff shirt or the merch you picked up on a night out. Caps need a different approach: spot-clean them, keep them out of the machine and dry them on a form. Both are covered below.
TL;DR
- Inside out, 30°C or cooler, gentle cycle, mild detergent: that is the core routine for any printed tee.
- No fabric softener, no bleach, no tumble dryer on high heat, and no iron on the artwork.
- Wash less often and with similar colors. Less washing is the cheapest way to make a print last.
- Snapbacks: spot-clean with a soft cloth and lukewarm water, and air dry on a bowl or cap shaper.
- A peeling print usually traces back to heat, friction or harsh chemicals, so fix the routine before the next wash.
Table of Contents
- The short version: a routine that works for most prints
- Why inside out and why 30°C
- Detergent, softener and bleach
- Drying and ironing
- Graphic tees: screen print, DTG, vinyl and transfers
- Washing less often
- Stains without damaging the print
- Why your print is peeling and what to do
- Signed shirts and special pieces
- How to clean a snapback
- Staff and uniform shirts
- Smoke, sweat and sticky nights out
- Want the shirt? Come get one
- A simple care card you can copy
- FAQ
- Sources
The short version: a routine that works for most prints
Most of the damage to a printed shirt happens in three places: the hot wash, the dryer and the iron. Heat softens and cracks the ink or the film, friction wears it down, and strong chemicals break down its bond with the fabric. The routine is built to avoid all three.
The care guidance from print suppliers is remarkably consistent. Avery's instructions for fabric transfers say to wash inside out in cold water with a color-safe detergent, avoid bleach, tumble-dry on low and never iron directly on the image. They also say to wait 24 hours before the first wash of a newly applied transfer. If your print is a home-made transfer, that waiting period matters.
Here is the routine in order:
- Read the care label first. It overrides everything else, because it describes the fabric.
- Turn the shirt inside out. The print then rubs against the drum and other clothes less.
- Sort sensibly. Wash with similar colors and similar textures, not with towels, jeans or anything with buttons or zips.
- Set the machine to 30°C or lower and choose a gentle, delicate or short cycle with a medium-to-low spin.
- Use a mild liquid detergent with no bleach and no fabric softener.
- Dry flat or on a hanger. If you must use a dryer, use low heat.
- Iron only on the reverse, or with a cloth between the iron and the design, on a low setting.
Why inside out and why 30°C
Turning the shirt inside out is the single easiest habit to build. The outside of the print is what takes the friction, and the inside-out position shields it from the drum wall and from zips, buttons and rough fabric in the same load. It also protects the fabric surface from the pilling that makes a graphic look faded even when the ink is intact.
Temperature is the second lever. The guidance from print suppliers clusters around 30°C as the sweet spot, and 40°C as a ceiling you should not pass. Higher temperatures can shrink the cotton and stress the print layer, so the design cracks or lifts at the edges. Dutch households have a second reason to stay low: Milieu Centraal advises washing at the lowest practical temperature and not washing clothes more often than necessary. The same page notes that liquid detergent releases fewer fibers than powder, which is a small bonus for a mild liquid on printed cotton.
If your machine has a 30°C setting and a "quick" or "delicates" program, you already have what you need. A shorter cycle means less tumbling, and less tumbling means less wear on the artwork.

Detergent, softener and bleach
Detergent. Choose a mild liquid detergent. Harsh, enzyme-heavy or whitening formulas are aimed at stains, and they are tougher on inks than a standard wash needs. Dose to the water hardness and the load size on the pack. Overdosing leaves residue that dulls dark prints.
Fabric softener. Skip it. Softener coats fibers, and that coating is exactly what you do not want sitting between a print and the fabric it needs to grip. If you want a softer feel, a proper air dry and a quick shake before hanging does more than any additive.
Bleach. Avoid it. Chlorine bleach can strip color from the ink and the shirt. Avery's guidance is to avoid bleach altogether for transfers. If a white shirt with a colored print has a stubborn mark, treat the mark by hand and gently, not with a bleach cycle.
Drying and ironing
The dryer is where good washing routines go to die. A tumble dryer on high heat bakes the print, and the fabric then moves and shrinks around a design that cannot. Air drying is the safest choice: shake the shirt out, smooth the print, and hang it on a rounded hanger or lay it flat. In the Netherlands, where indoor drying racks are the norm for many households, that is easy to do. If you need the dryer, use the lowest heat and take the shirt out while it is still slightly damp.
On ironing, the rule is the same across sources: do not iron directly on the print. Turn the shirt inside out, or lay a thin cotton cloth over the design, and use a low setting. Better still, hang the shirt in a steamy bathroom and let the creases fall out.
Graphic tees: screen print, DTG, vinyl and transfers
The routine above applies to all of them, but the print type changes how much margin for error you have.
| Print type | How it feels | What it tolerates | Main risk |
|---|---|---|---|
| Screen print | Ink layer on top of the fabric, sometimes slightly raised | Gentle machine wash at 30°C | Cracking from heat and abrasion |
| DTG (direct to garment) | Ink absorbed into the fibers, very soft | Cool wash, gentle cycle | Fading from harsh detergent and sun |
| Vinyl or heat transfer | Smooth film, slight edge | Cool wash, low drying | Peeling at the edges from heat or ironing |
| Puffy or foil details | Raised or shiny | Hand wash or the gentlest cycle | Lifting when rubbed |
If you are not sure which one you have, run a fingertip over the design. A thick, plasticky film is likely a transfer or vinyl, and a soft print you can barely feel is likely DTG or a water-based screen print. When in doubt, treat it as the most delicate type.
Washing less often
A printed shirt that is washed after every wear ages faster than one that is aired between outings. A tee worn for a few hours at a bar or a match is often fine after hanging in fresh air. Wash it when it is actually dirty, smells or has been worn for a sweaty day. Milieu Centraal's advice to avoid washing more than necessary is practical here, and it saves water and energy too.
Stains without damaging the print
Work on the stain from the back of the shirt, and dab rather than rub. Use a little mild detergent in cool water, then rinse and wash as usual. Skip solvents and strong stain removers on or near the artwork. Grease from food is the common one: blot it quickly, and treat the area before it dries. If a mark sits across the print itself, a gentle dab is better than letting a harsh product touch the design.

Why your print is peeling and what to do
Peeling and cracking are rarely random. The usual causes are a hot wash, a hot dryer, ironing on the design, rough friction, harsh chemicals, and sometimes the printing itself, such as the wrong temperature or pressure during application. A Dutch print shop's FAQ lists the same causes, including unsuitable or treated textile and intensive use. It also advises sending a clear photo and your washing details to the seller so they can assess it.
Two practical points follow:
- If the shirt is new and the print fails after a few careful washes, contact the seller with a photo and describe how you washed it. That is the information they need.
- If the artwork has already worn away, no wash or reheating will bring it back. Change the routine to protect the next shirt.
Signed shirts and special pieces
A shirt signed with a fabric marker or paint pen needs extra caution. Skip the machine entirely if you can. Spot-clean only, away from the signature, and let it air dry. If it must be washed, use a delicate bag, a cool setting and a very short cycle, and check the signature on a hidden spot first. Some inks run, so when the piece matters more than the shirt, keep it clean by wearing it rarely and store it folded in a cool, dry drawer.
How to clean a snapback
A snapback is a structured cap, and the washing machine is its enemy. The brim can warp, the front panels lose their shape and embroidery can pucker. New Era's cap care guide puts spot cleaning first: a soft cloth, gentle soap and lukewarm water, with a soft brush for dirt and sweat marks. It advises against soaking structured or cardboard-brim caps and against machine washing.
Step by step
- Check the care label and the brim. A cardboard brim means spot-clean only. Maytag's guide explains that cardboard-brim hats should only be spot-cleaned, while plastic-brim caps may take a gentle cycle with cool water and mild detergent if the label allows it.
- Test for color run. Dab a hidden spot with a damp cloth and see whether any color transfers.
- Spot-clean. Use a damp cloth with a drop of mild soap. Work from the center of the stain outward. Pay attention to the sweatband, where most of the grime sits.
- Rinse by blotting with a clean damp cloth. Do not soak the brim.
- Reshape and dry. Stuff the crown or place the cap upside down over a bowl or cap shaper so it keeps its silhouette. OxiClean's cap guide suggests reshaping and air drying rather than tumble drying.
- Keep it away from direct heat such as radiators or a hot windowsill.
Storing a snapback
Store caps in a cool, dry place without folding or crushing them. Do not stack heavy objects on them. A hook, a shelf or a stack of caps with a little space between them all work. The aim is to protect the curve of the brim and the shape of the crown for as long as possible.
Staff and uniform shirts
The same rules matter for a working wardrobe, where shirts are washed often and worn hard. If you are choosing and looking after uniforms for a team, keeping staff shirts looking sharp is mostly about picking the right print method and washing at a low temperature. Rotate shirts so each one is washed less often, and wash inside out every time.
Our view from behind the bar
We see a lot of printed tees in a night: match shirts, band tees, merch and the odd borrowed jersey. The ones that still look good a year later almost always share the same history. They were worn, hung up to air and washed cool, inside out, without fuss.
The mistake we hear most is the hot wash after a long night out. Smoke, spilled drinks and a warm room make a shirt feel like it needs the hottest cycle, but 30°C and a mild detergent handle it. The heat is what costs you the print.
Our merch is made to be worn at the match, at the lounge and on the walk home, so we would rather you get years out of it. Follow the label, keep the print inside, and the shirt keeps telling people where you had a good night.
Leo
Smoke, sweat and sticky nights out
After an evening at a lounge or a crowded sports bar, a shirt can carry smoke and food smells. Before you wash it, hang it outside or by an open window for a few hours. Much of the odor lifts without any water at all, which saves a wash cycle and keeps the print intact. When you do wash it, the same cool, inside-out routine works. Do not reach for a hotter cycle to chase smells.
Want the shirt? Come get one
If this made you want a tee that earns its place in your rotation, we have merch ready at the venue and online. Browse the Big Shots Amsterdam merch, then wear it to the next match with us.

Hungry first? Our menu runs from breakfast and tapas to steaks, burgers, pizza and pasta, and you can also use our delivery page to order in. For a longer evening, take a look at our lounge experiences. Everything else is on our homepage.
A simple care card you can copy
| Step | Printed tee | Snapback |
|---|---|---|
| Before washing | Check label, turn inside out | Check label and brim type |
| Method | Machine, gentle cycle | Spot-clean by hand |
| Temperature | 30°C or lower | Lukewarm water |
| Detergent | Mild, no softener, no bleach | Mild soap, no bleach |
| Drying | Air dry or low heat | Air dry on a form |
| Ironing | Reverse side or with a cloth | Not applicable |
| Storage | Folded or hung | Uncrushed, cool and dry |
Pin this inside a wardrobe door or save a photo of it on your phone. It covers most of what goes wrong.
FAQ
Is it better to wash printed T-shirts inside out?
Yes. Inside out, the print rubs less against the drum and against other garments, which slows cracking and fading. It is the easiest change you can make, and it costs nothing.
Does hot water ruin graphic tees?
It can. Heat shrinks cotton and stresses the print layer, so the design may crack or lift. Stay at 30°C or lower, and do not go above 40°C, which is also the lower-energy choice that Milieu Centraal recommends.
Can I put a snapback in the washing machine?
It is safest not to. Spot-clean it with a soft cloth, lukewarm water and mild soap, and dry it on a form. Only wash a plastic-brim cap on a gentle cycle if the care label allows machine washing.
Why is my shirt print peeling off?
The usual causes are hot washing or drying, ironing on the print, friction, harsh chemicals, or a fault in how the print was applied. If a new shirt peels after careful washing, send the seller a clear photo and your washing details.
Can I use fabric softener on printed shirts?
It is best to skip it. Softener leaves a coating on the fibers that can interfere with how the print grips the fabric. Air drying gives you a soft feel without the risk.